Back to Safety Center Main Menu
Contact Library Plan
To use ContactSync in the most efficient way, we recommend that clients create a Contact Library Plan for each unique mapping within an account. This will allow plans to be updated automatically on the mobile device each time a file with the same signature is uploaded into the system. This means, if an Administrator has 10 plans, and each has a unique mapping and filter(s), a Contact Library Plan is needed for each. The Administrator in this example would then have 20 total plans in his or her account.
After creating a Mapping and a Filter, when a user clicks Done from the Filter page, he or she is automatically taken to the My Plans page.
Creating a Contact Library Plan
- Click the Safety Center logo in the top left corner of the screen to access your home page.
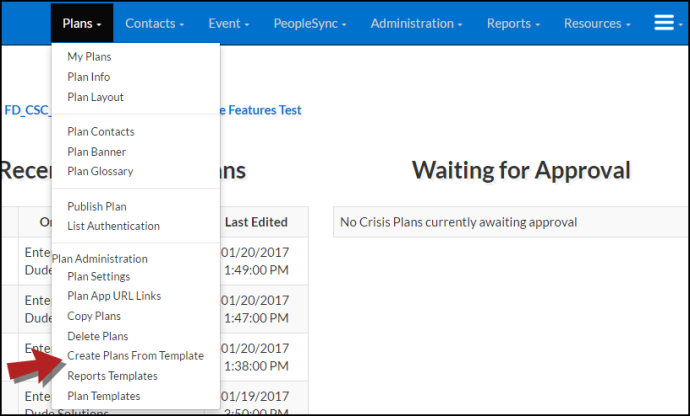
- Click on the Plans tab and then click on Create Plans from Template.
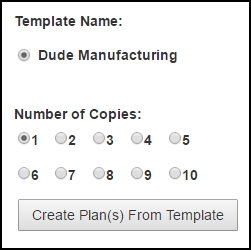
- Select the default plan under Template Name the first time you create a Contact Library Plan and click Create Plan(s) From Template.
- From the My Plans page, click Edit beside the newly created default plan to open the plan.
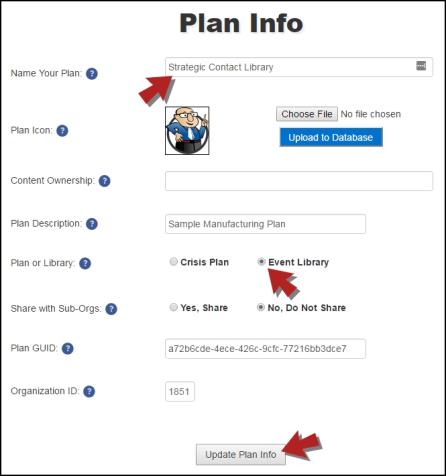
- Rename the library plan based on the mapping and filter use case.
- Select Event Library and click Update Plan Info to save changes.
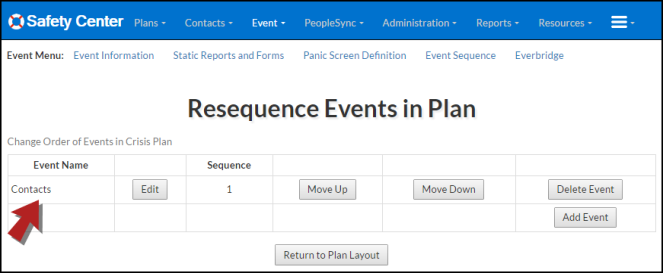
- Click on the Event tab and then click on Event Sequence. Delete out all icons except for the Contacts icon.
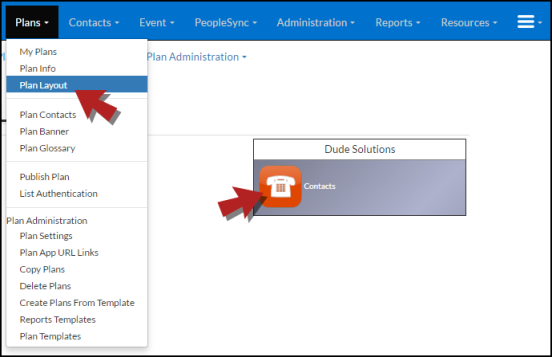
- Click on the Plans tab and then click on Plan Layout.
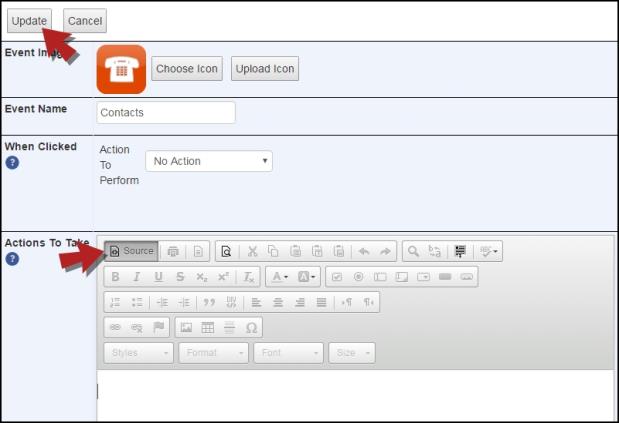
- Select the Contacts icon and click Edit.
- Delete out any content. Double check the entire event is empty by selecting the Source tab.
- Click Update to save changes.
- Click on the Plans tab and then click on Plan Contacts to save mapping and filters to the icon within the Contact Library Plan. This will enable ContactSync to update the library plan on the mobile device for company users each time a file upload with the same file signature is imported into the system.
- Choose the correct Mapping Name, Filter Name, and Upload from the drop down menus. *Note: This step is critical. If an Administrator fails to connect the mapping, filter(s), and upload to the icon within the correct library plan, clients with ContactSync will not have an automated user experience on the mobile app. This step must be completed for the library plans to auto-republish each time a file upload is performed with the same file signature.
- Click Save.

Publishing a Contact Library Plan
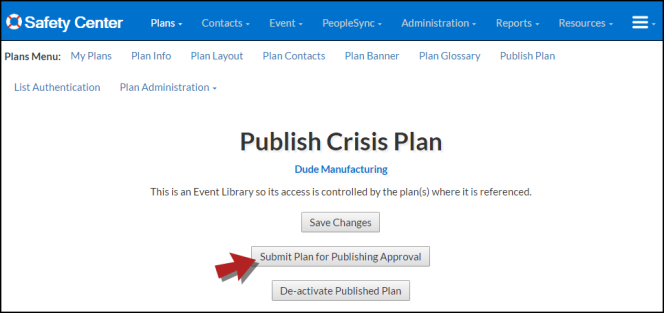
- Click on the Plans tab and then click on Publish Plan.
- Select Submit Plan for Publishing Approval.
- Click Approve and Publish.
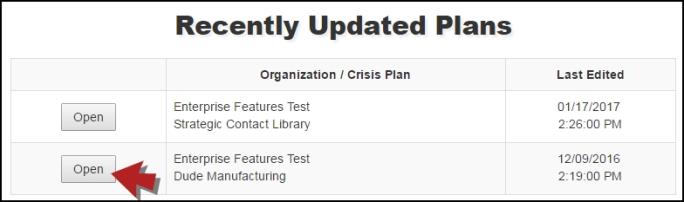
- On the Home Page under Recently Updated Plans, click Open beside your base plan. This is the main plan designed for an audience. *Note: If you do not see the desired plan there, navigate to My Plans and click Edit.
- Once the plan is open, click on the Plans tab and then click on Plan Layout.
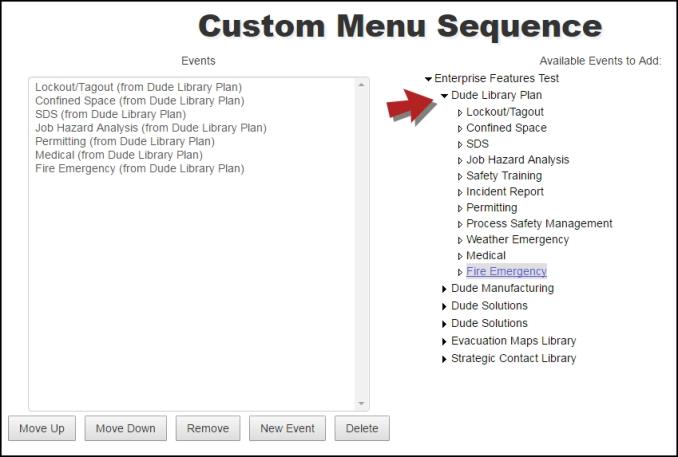
- Click Custom Menu Sequence.
- Expand the Contact Library Plan to reveal the event.
- Select the Contacts event from the Contact Library Plan to populate the event in the base/main plan listing on the left.
- Click Save.
- Click on the Plans tab and then click on the Publish Plan to republish the plan.
- Click Submit Plan for Publishing Approval and then click Approve and Publish.
